The below directions should be similar for various desktop distributions, but the directions were vetted under Linux Mint 22. contact support if you think they need an update and/or they differ for your particular distribution. We're constantly adding/updating documentation and may not have it or specific documentation for your particular distribution/release, but are happy to build on what we have and add it.
1. In the top left corner click activities or in the lower left corner click the icon for your distribution's menu
![]()
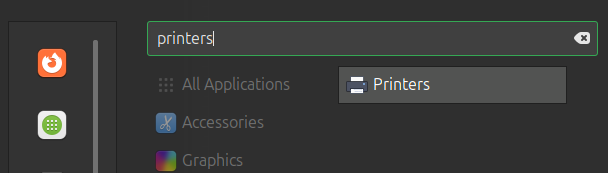
2. Enter Printers into the search and open Printers
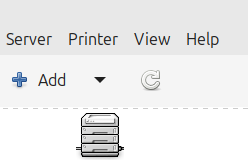
3. Click the Add button to start the Add printer wizard
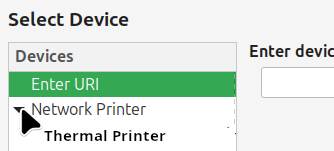
4. Click on Network Printer and select the printer
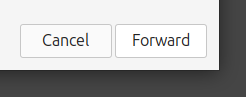
5. Click forward
6. Under Makes scroll down to Zebra at the bottom
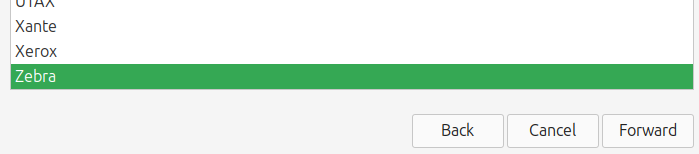
7. Select Zebra and click the Forward button
8. Under Models select ZPL Label

9. Under Drivers select Zebra ZPL Label Printer [en] (recommended)
10. Click the Forward button
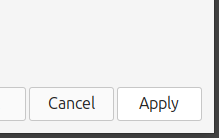
11. Click the Apply button
12. Right click on the newly added printer and select properties
13. Under Printer Options make sure the media size is set to 4 x 6" (not 6 x 4 " or any other incorrect settings)
14. Click OK
15. Open a 4x6 sample label and go to print
16. Under Paper size make sure 4 x 6" Borderless is selected
17. Click the print button
Note: If you have 4 x 5" Borderless selected or something that isn't correct the printer may not print anything and even shut off on you. It's critical to make sure the settings are correct for the label you are printing.