These directions are applicable for at least Debian 11 using our USB-A 3.0 Data Transfer Cable for GNU/Linux (TPE-3TRANCBL). If you need directions for other versions of Debian contact support.
Computer 1: On the new system open the Synaptic Package Manager, install openssh-sftp-server, and setup the data transfer cable network connection
![]()
0. Make sure you have the main repository enabled. To do this search for and open Software & Updates from Activities and then make sure the box labeled Officially supported (main) is checked and under the Other Software tab any CDROM options are unchecked.
1. From Activities search for and open the Synaptic Package Manager, click the Reload button to update the package metadata, then search for openssh-sftp-server, click on openssh-sftp-server, then select Mark for Installation, click the Mark button to confirm the additional required changes, the Apply button, and the Apply button again to confirm the changes. Close the Synaptic Package Manager. Restart the computer.
2. Plug in one end of the Data Transfer Cable to a USB 3.0 port (preferably, usually blue) or USB 2.0 port if a 3.0 port is unavailable
3. Go to the network applet in the top right corner and under the Ethernet section (click it) select Wired Settings
4. Click the cog wheel button under where it says USB Ethernet and under the Identity tab enter Data Transfer Cable in the Name box followed by selecting the Shared to other computers option under the IPv4 tab and click Apply
5. From the network applet click the ethernet option and connect
6. While in the network applet disconnect from any other wireless or wired network connections
Computer 2: On the old/other system open the Software management application, install Filezilla, and connect
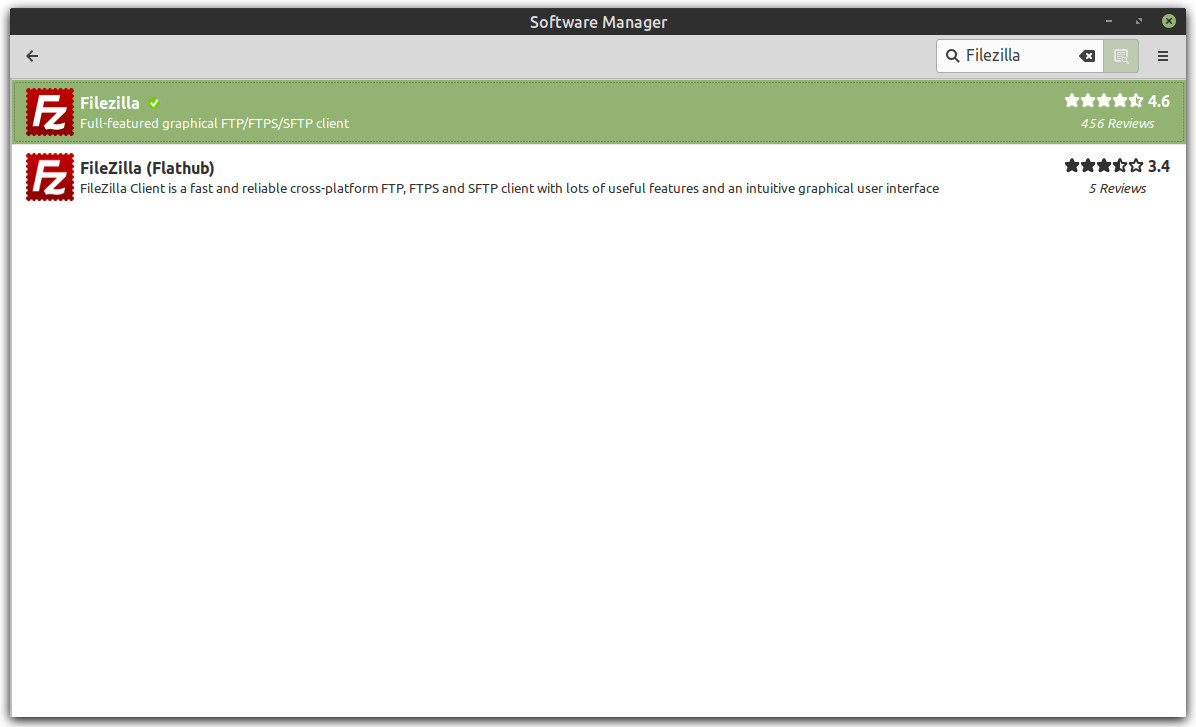
1. From Activities search for and open the Software package management application, search for Filezilla, click on Filezilla, click the Install button, enter your login password to authenticate if prompted, and then click the install button, and finally click the Launch button to start Filezilla
2. Go to the network applet in the top right corner and disconnect from any wireless connections
3. Plug in the other end of the Data Transfer Cable to a USB 3.0 port (preferably, usually blue) or USB 2.0 port if a 3.0 port is unavailable
4. When connecting the Data Transfer Cable the default behavior in Debian is to connect to the new network, but if nothing happens you can also create a new network connection
5. Back in Filezilla you will need to enter the Host name or IP address of Computer 1, which should be 10.42.0.1 although you can verify this by going to the Network Applet in the top right of Computer 1 and click on the ethernet > Wired Settings and click the cog wheel icon under the ethernet and under the details tab you will find the IPv4 Address that need to go into Filezilla's host box
![]()
6. In Filezilla's Username box you will need to enter the login username you use on Computer 1
7. In Filezilla's Password box you will need to enter the password the login username you use on Computer 1
8. In Filezilla's port box you can enter the default sftp port of 22
9. Now click the Quickconnect button in Filezilla (select your password save preference and then accept the host key to connect)
10. You can now drag and drop files and folders from the local computer (Computer 2) to the remote computer (Computer 1)
There is one last thing that is generally a good idea to do. After transferring your files to a new computer remove openssh-sftp-server. This is mostly a security precaution as anyone can get into your machine remotely if your not utilizing a strong enough password. To remove openssh-sftp-server open the Synaptic Package Manager, enter your login password, then search for openssh-sftp-server, and click on the green checkbox next to openssh-sftp-server, select Mark for Removal, click the Mark button to confirm changes, then click the Apply button, and the Apply button again to confirm the changes.