
Unfortunately Trezor the company behind the Trezor T and Trezor Safe 5 has released its Trezor Suite app under a non-free license. The included directions instruct the user to setup and initialize the device using this software. The problem with this is it is non-free and puts the user at risk.
The good news is that the firmware for these devices are released under a set of free software licenses and the hardware can be initialized using free software. The trick is understanding how to go about using the free software to do so, but that's where we come in. We have written up directions on using these devices with with various wallets directly on free and more free software oriented distributions as well as some not-as-free distributions.
On Linux Mint 22 there are two free software friendly wallets we can recommend using with the Trezor Safe 5. One is the Electrum Wallet for Bitcoin transactions and the other is the Feather Wallet for Monero transactions.
Flashing and initializing the Trezor Safe 5 for first use after purchase on Linux Mint 22
In order to flash the firmware to the Trezor Safe 5 and initialize the device for first use on Linux Mint 22 we need to update the system to a more recent version of the Trezor software than is included in the Linux Mint repository. The version in the repository does not include a sufficiently recent release of the trezorctl software and so we need to update this first by opening a terminal and running the following commands:
1. In the lower left hand corner click on the terminal icon to open the terminal (black icon with a $_ or search for terminal in the search box in the Linux Mint menu), then copy and paste the following commands to install and update to a more recent version of the Trezor software:
sudo apt update
sudo apt install -y pipx python3-venv
pipx ensurepath
source ~/.bashrc # Or restart your terminal
pipx install trezor
2. Identify the latest Trezor Safe 5 firmware by opening a browser and visiting the official github page:
https://github.com/trezor/data/tree/master/firmware/t3t1
Note: These are the files listed in the following format: trezor-t3t1-*.*.*.bin where the highest number is the latest release, and you can also utilize the date as a basis for figuring out what the most recent version is.
3. Open a terminal and download the latest Safe 5 firmware by running the following commands, but replace 2.12.1 with the latest version of the firmware identified in the step above:
wget https://github.com/trezor/data/raw/refs/heads/master/firmware/t3t1/trezo...
Note: You can type in wget and then copy the link by right clicking the link and selecting Copy Link.
4. Install the rules to give the system permission to access the device:
sudo curl -o /etc/udev/rules.d/51-trezor.rules https://data.trezor.io/udev/51-trezor.rules
sudo udevadm control --reload-rules && sudo udevadm trigger
sudo usermod -aG plugdev $USER
5. Connect your Trezor Safe 5 to a USB-C port on your computer.
6. Run the following command and confirm that the computer detects the device:
trezorctl list
Note: You should see something like the following for the output of the command above:
webusb:001:3 - Trezor Safe 5 bootloader
7. Run the following command to flash the firmware:
trezorctl firmware-update -f ./trezor-t3t1-2.12.1.bin
Note: On the Trezor Safe 5 screen it'll say Installing Firmware
On the terminal you'll see:
T3T1 firmware image.
Vendor header from Trezor, version 0.0
Firmware version 2.12.1 build 0
Firmware fingerprint: 7b82c1a5977eed76e5078b8e890e32aa165f6e8798bb9ff5653496ded923704d
Firmware is appropriate for your device.
Uploading [####################################] 100%
8. Now that the firmware is flashed it's time to initialize the device by running the following command:
trezorctl device setup --strength 256 --passphrase-protection --pin-protection --label "My Trezor Safe" --backup-type single

9. Tap the screen on the Trezor Safe 5 to agree to the TOS (terms of service).
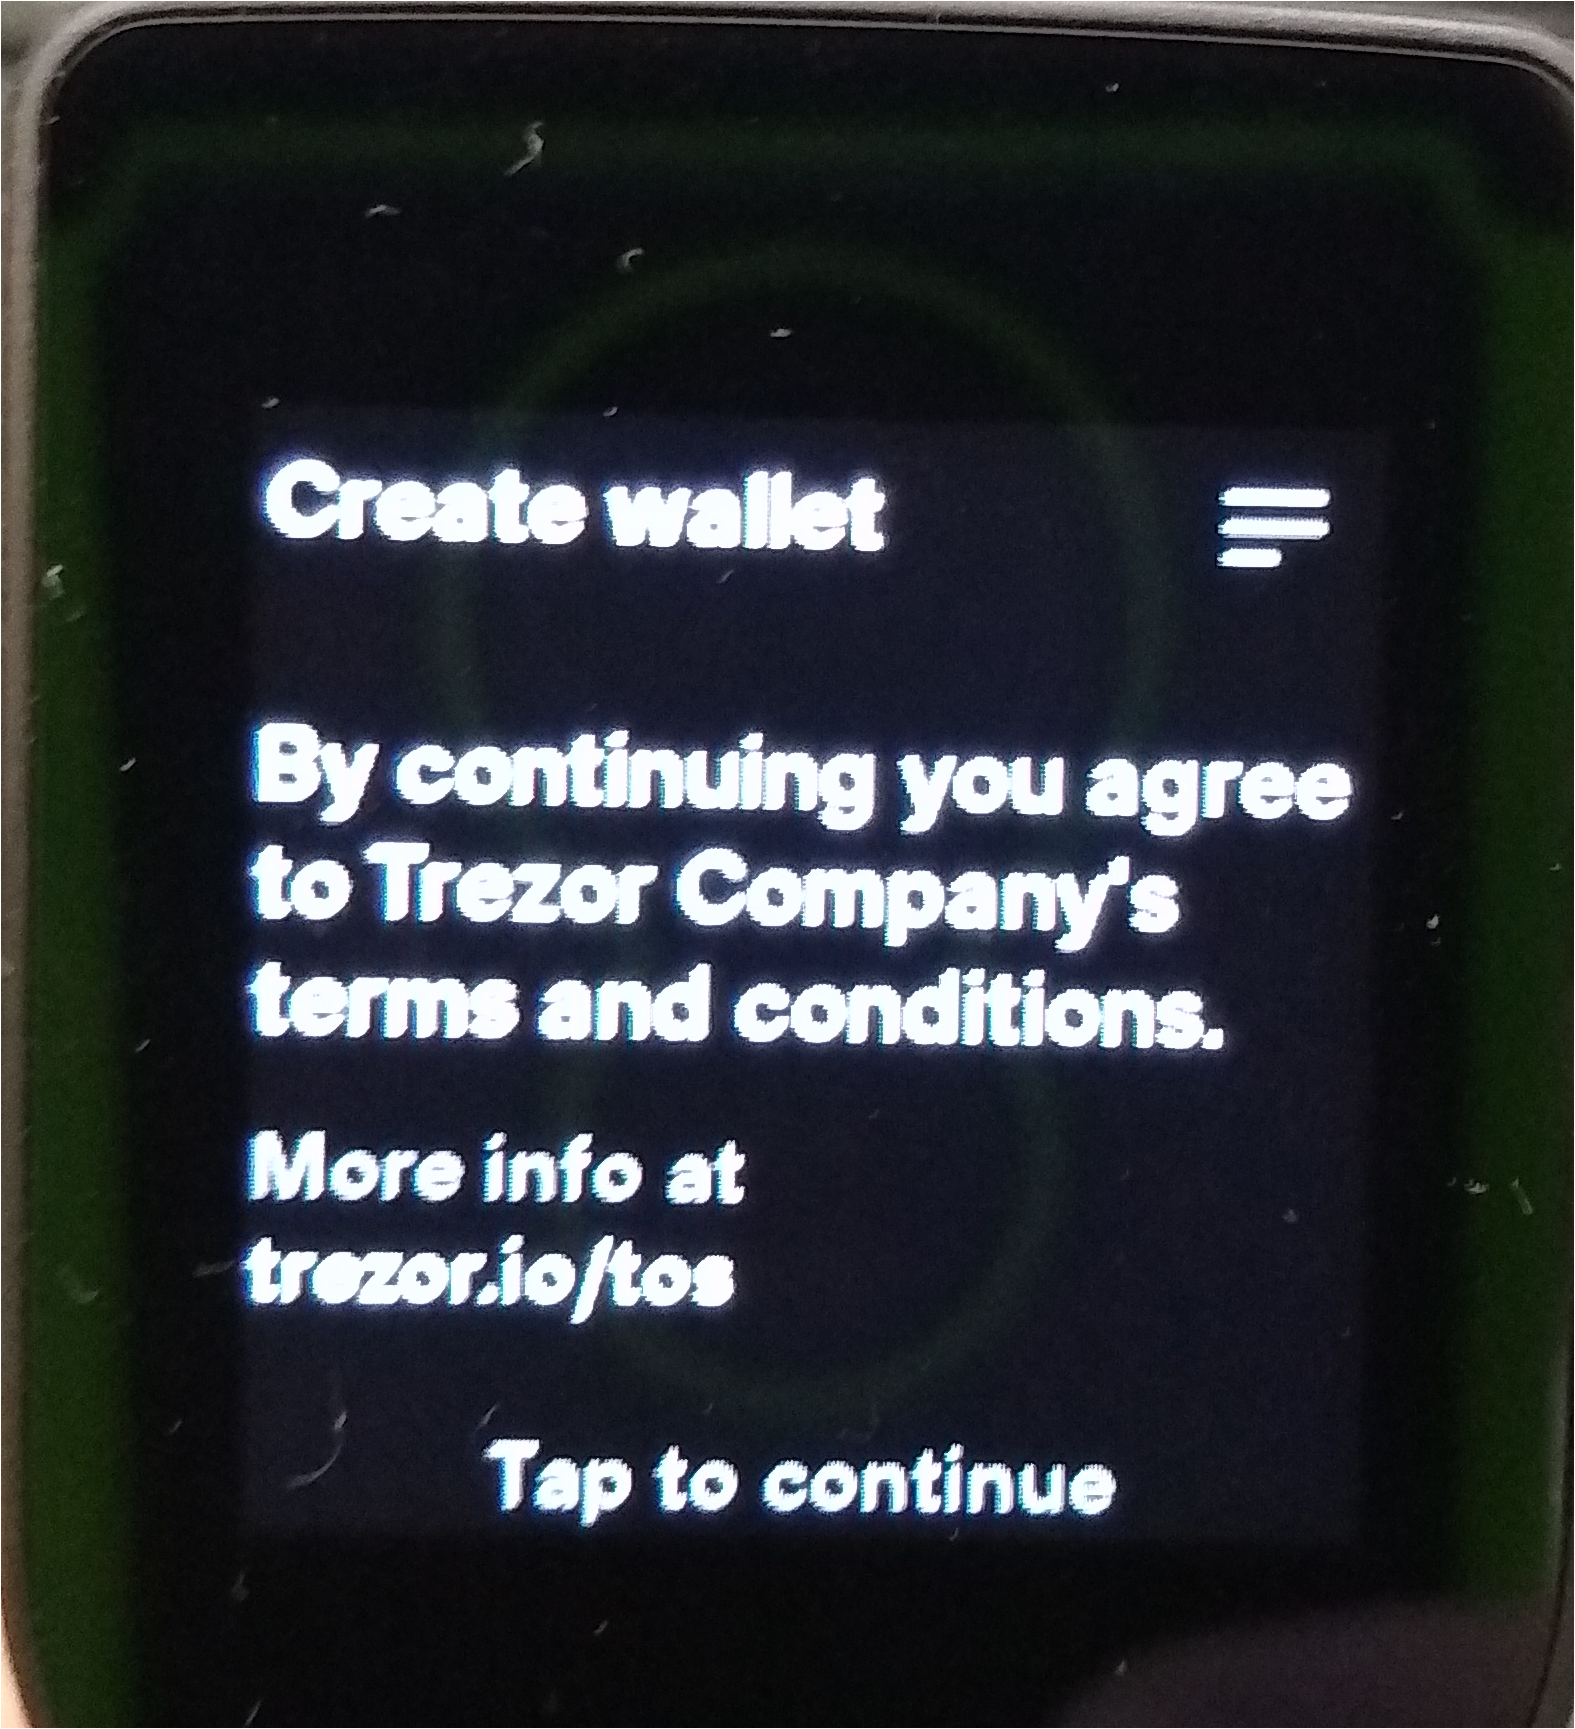
10. On the Trezor Safe 5 screen follow the instruction and press and hold to confirm initialization.
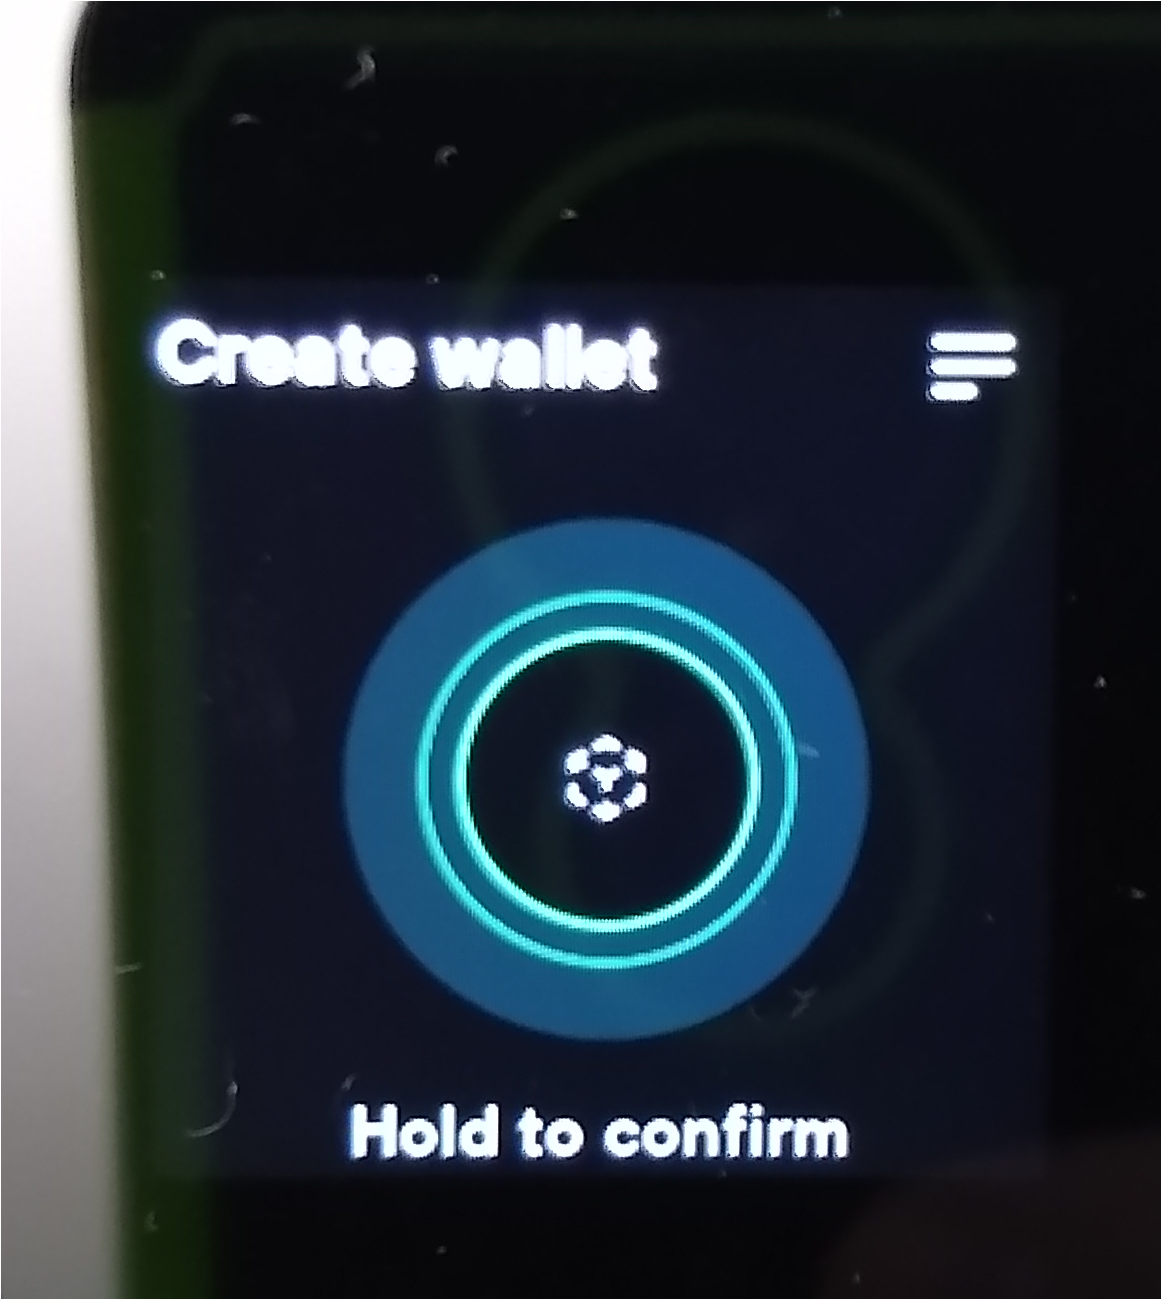
11. On the Trezor Safe 5 screen enter a pin to protect the Trezor Safe 5 against unauthorized use (and make a note of it so you don't forget it).
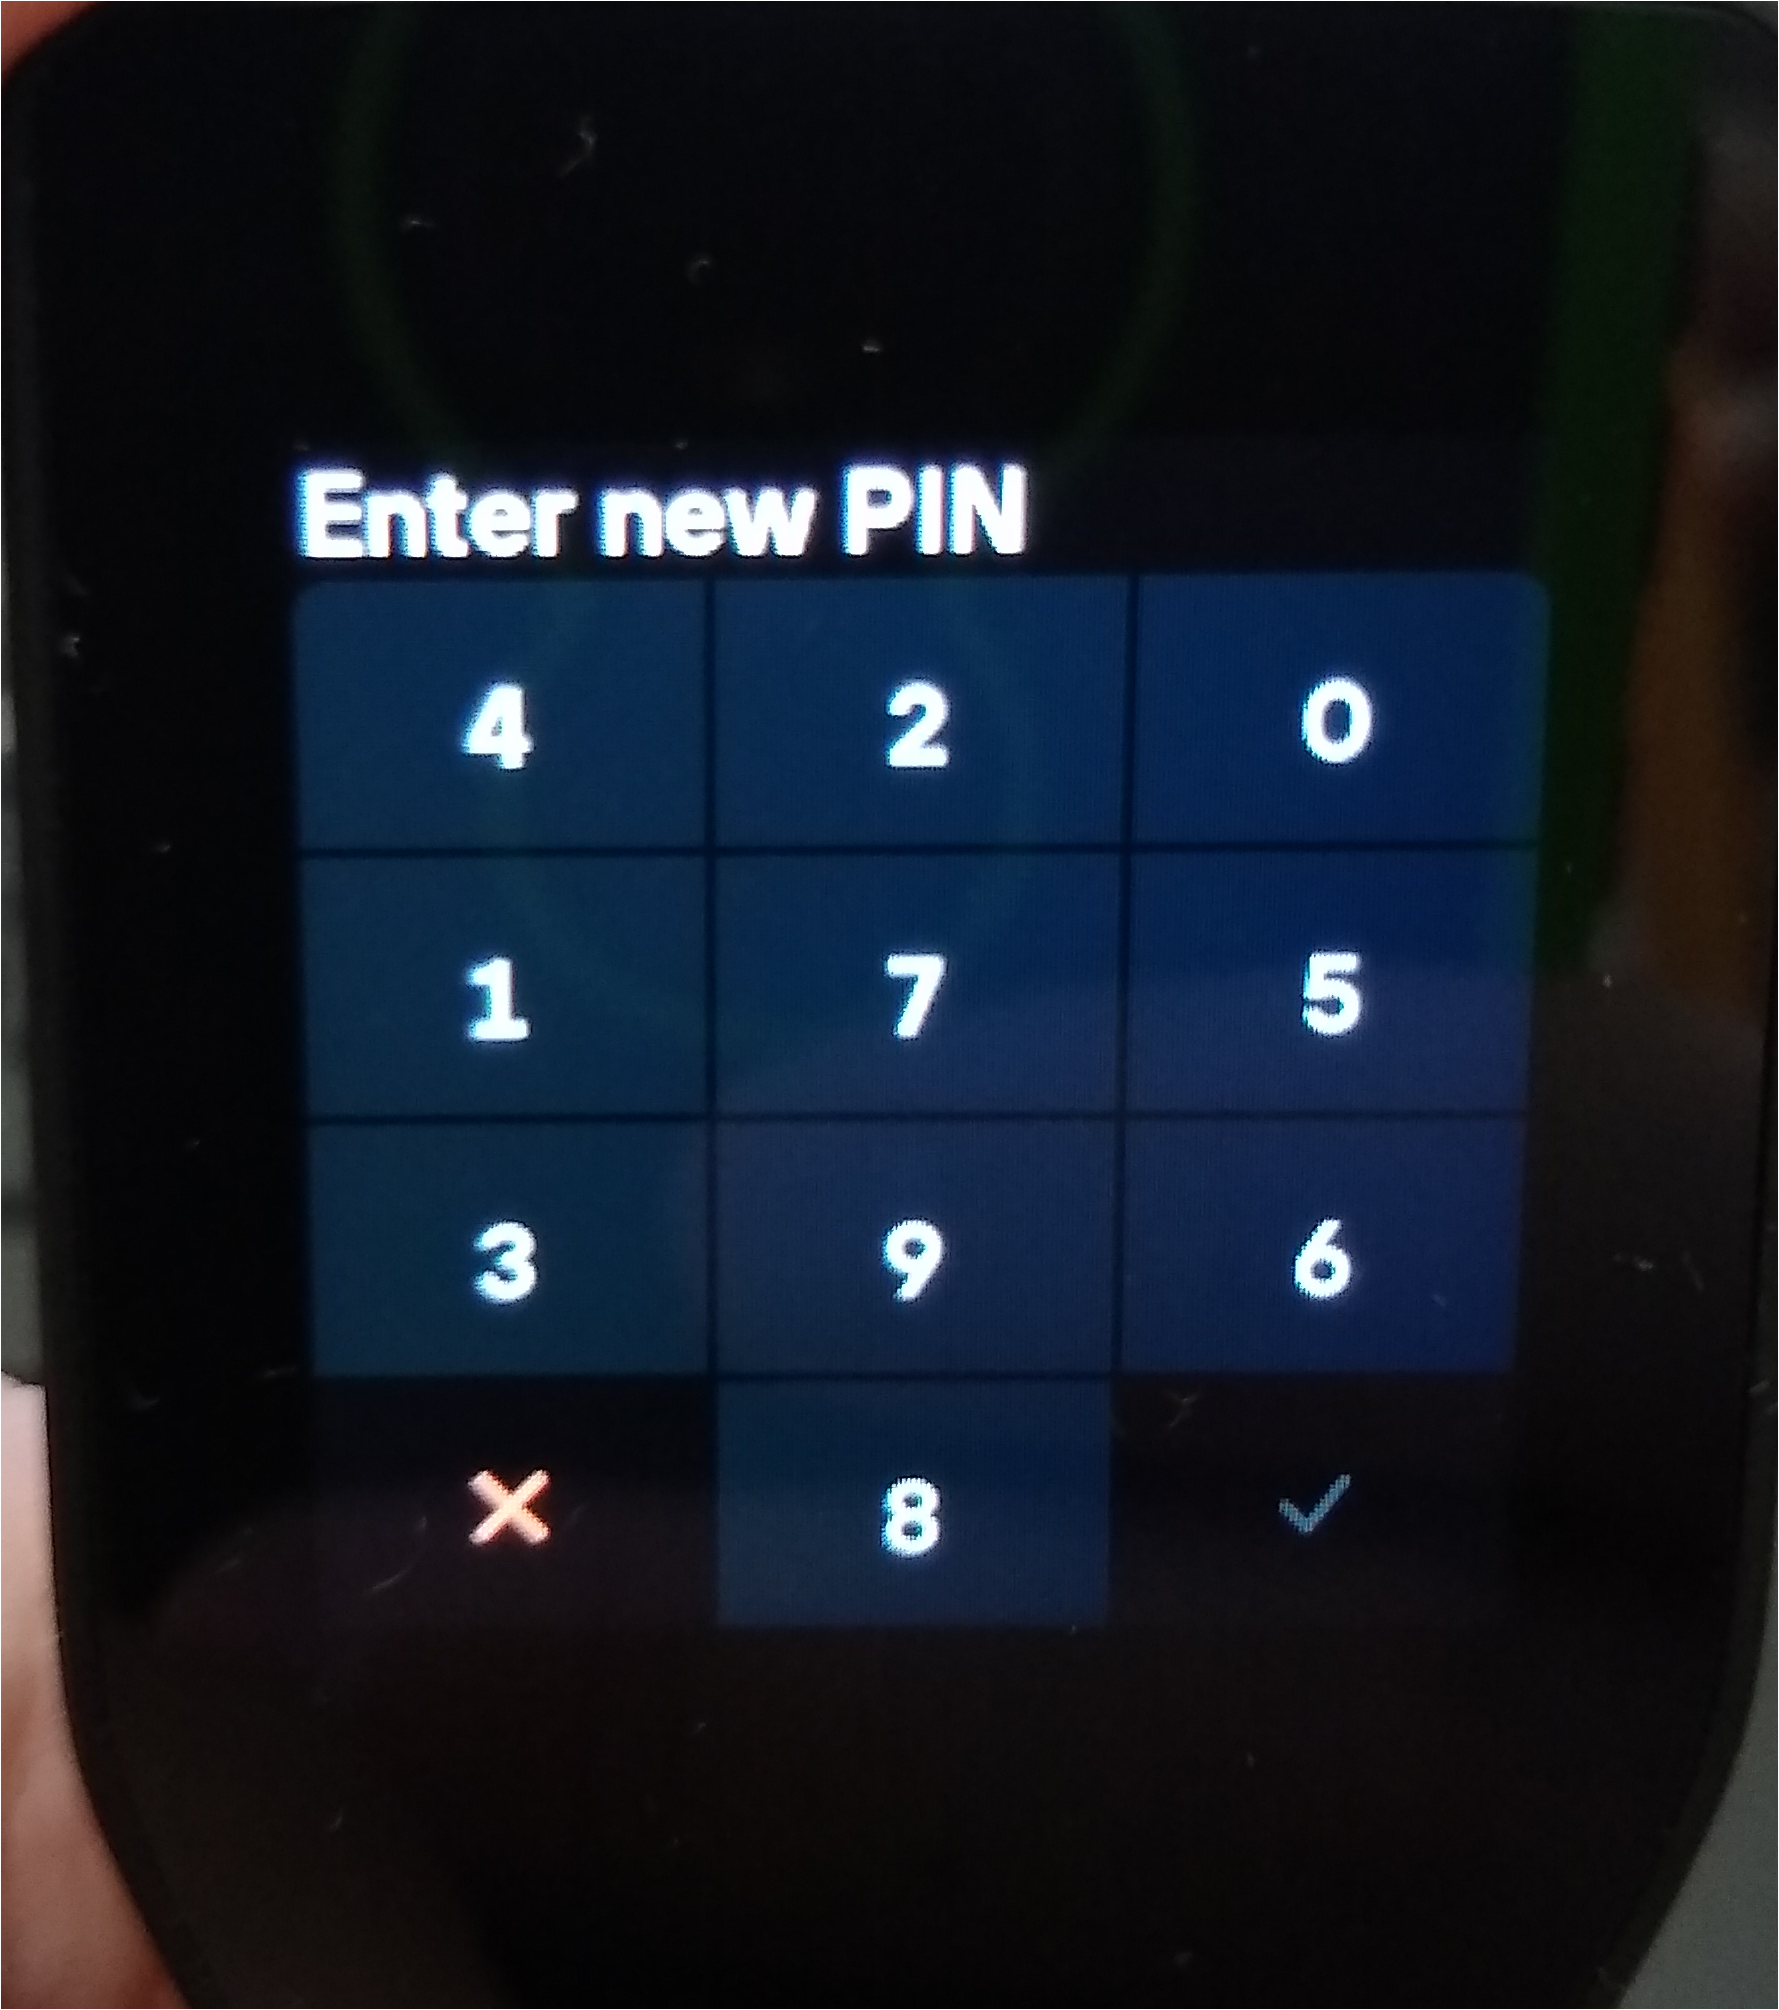
12. On the Trezor Safe 5 screen you should see a message indicating your wallet has been created and to tap the screen to continue. Do so.
13. On the Trezor Safe 5 screen you'll next see a create wallet backup message. Tap to continue with the backup.
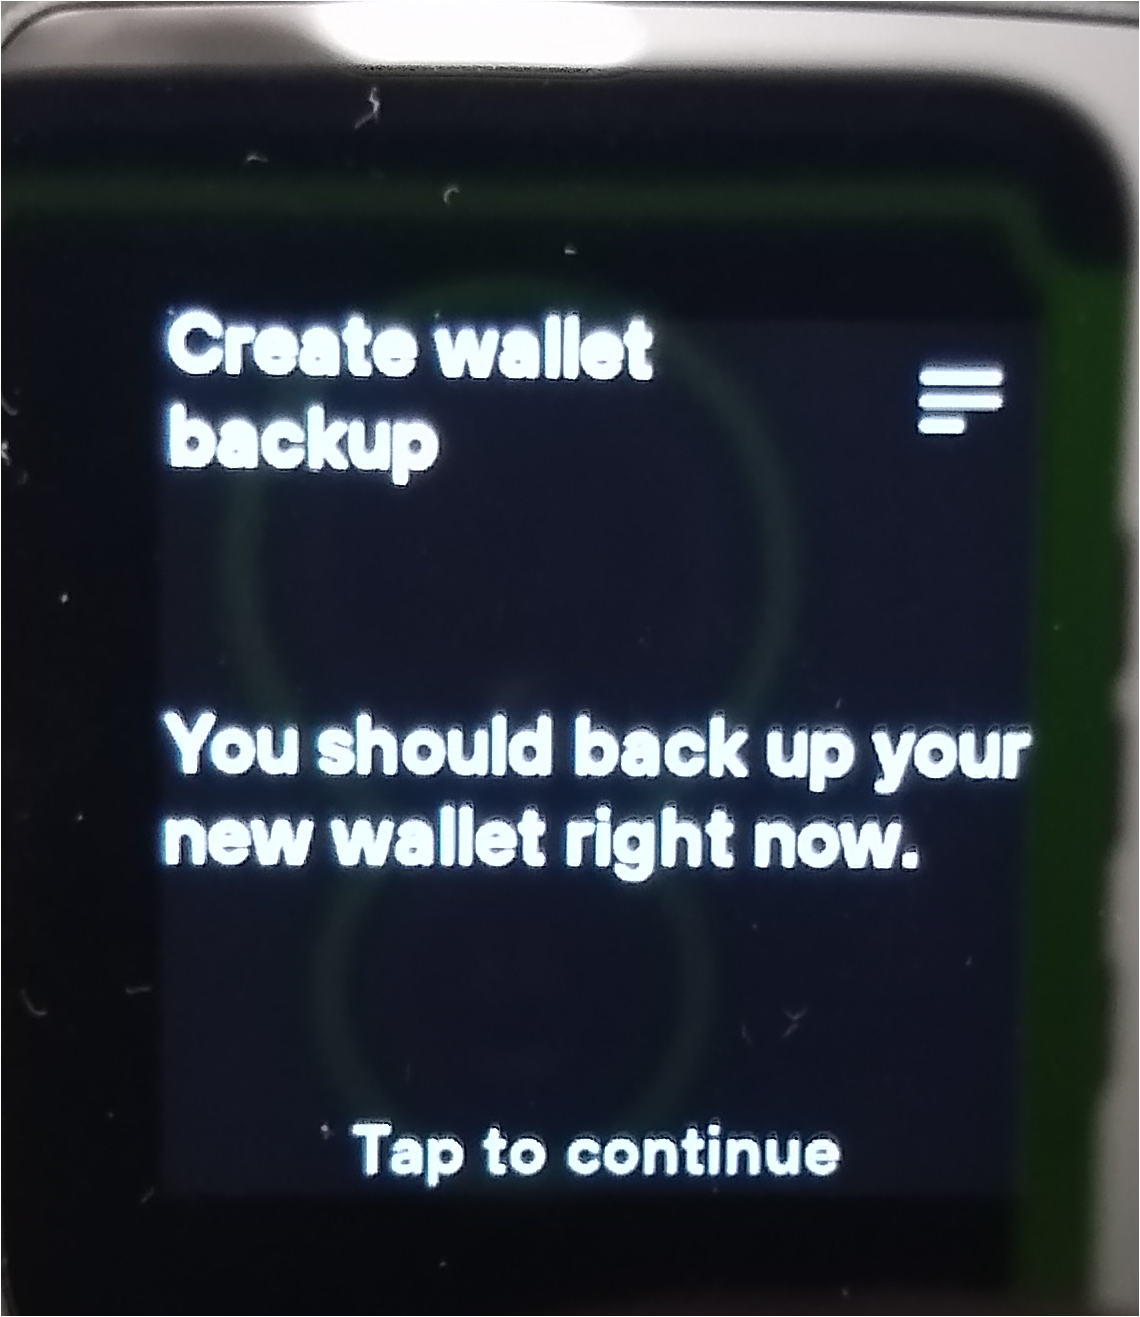
Note: You'll also see another 'create wallet backup' screen indicating that the 'wallet backup contains 33 words in a specific order'. Tap the screen to continue.
14. On the Trezor Safe 5 screen you'll see 'never put your backup anywhere digital'. Tap to continue
15. On the Trezor Safe 5 screen when you see the wallet backup instructions follow the directions as described and write your backup words down. Then tap the screen to continue after each word. You should see a 'I wrote down all 33 words in order.' when the process is complete and a hold to confirm, and you should put your finger on the screen, and hold it there until the 'check wallet backup' message appears.
16. When you see the wallet backup message tap the Trezor Safe 5 screen to continue.
17. Select the word from the list you wrote down until you've gone through each of the ones prompted for and see the success screen. Then tap to continue.
At this point you've successfully flashed and initialized your Trezor Safe 5 using free software.
Getting started guide: Using the Trezor Safe 5 on Linux Mint 22 with Feather Wallet and Monero
1. Open the terminal and copy and paste the below line, then hit the enter key:
flatpak install --from https://featherwallet.org
2. You'll be prompted to keep remote for future installations, hit the y key and enter key to accept:
Should the remote be kept for future installations? [Y/n]:
3. Hit the y key and ener key again to the question about installation:
Do you want to install it? [Y/n]:
4. You'll be asked to proceed with the changes to the system, hit the y key and then enter key to accept.
Proceed with these changes to the system installation? [Y/n]:
5. Authenticate the GPG key to verify that the Flatpak is genuine by copying and pasting the below line into the terminal and hitting enter:
gpg --show-keys --with-fingerprint /var/lib/flatpak/repo/feather.trustedkeys.gpg
The output should contain a line that says:
Key fingerprint = 8185 E158 A333 30C7 FD61 BC0D 1F76 E155 CEFB A71C
Note: Make sure the fingerprint shown above matches the output in your terminal. Only the letters and digits matter, you may ignore any extra or missing spaces.
We recommend that you cross-check the fingerprint by running the following command:
sudo apt install -y ldnsutils
drill -D key.featherwallet.net TXT
6. You will need to give the flatpak access to USB to use it with the Trezor Safe 5 by running the following commands:
sudo flatpak override --device=all org.featherwallet.FeatherWallet
sudo curl -fsSL https://data.trezor.io/udev/51-trezor.rules -o /etc/udev/rules.d/51-trezor.rule
sudo udevadm control --reload-rules
sudo udevadm trigger
7. Disconnect the Trezor Safe 5 and then plug it back in.
8. Tap the screen and enter you pin. Don't forget to tap the green check mark. This will unlock your Trezor Safe 5 for use with Feather Wallet.
9. Start Feather Wallet from the Mint Menu in the lower right corner or run it via the terminal by copying and pasting the following line and hitting enter:
flatpak run org.featherwallet.Feather
10. A wizard will appear with an intro screen and info on connecting. You'll probably want to use the default auto connection option, so just click the Next button.
11. You'll also be asked how you want Feather Wallet to route its network traffic, the default is usually good. Click the Next button.
12. You will probably want to enable third-party data which is the default, as this will make it easier to use Feather Wallet, so click the Next button.
13. Select the Hardware device on the create new wallet/open wallet file screen. Then hit the Next button to continue.
14. On the Select device type: screen click on the drop down and select Trezor. Then click the Next button.
15. You can choose to store your wallet info in whichever directory you like, but the default is also generally fine. Click the Next button to continue.
16. It'll ask you to enter a password to encrypt your wallet keys. Don't enter it in Feather Wallet as a pop up window will ask you to enter it on the Trazor Safe 5 screen which is safer. So just click the Create/Open wallet button to continue.
17. You'll get a "Enter the passphrase on the hardware wallet?" screen recommends you enter a password on the device as it is better for security. Select Yes to proceed.
18. Take a look at the Trezor Safe 5 screen. It'll ask you to enter a passphrase. Pick a password and then tap the green check mark to continue.
19. The Trezor Safe 5 will then ask you to confirm export for watch-only credentials. Tap the Trezor Safe 5 screen to continue.
20. On the Trezor Safe 5 screen it'll make you tap to confirm again. Do so.
You've snow successfully setup Feather Wallet for use with the Trezor Safe 5.
Factory reset the Trezor Safe 5
1. Disconnect the Trezor Safe 5 from your computer.
2. Swipe Up: Place your finger at the bottom of the touchscreen and swipe upwards to the top.
3. Connect: While holding the swipe (or immediately after swiping up), connect the USB cable to your computer.
4. Bootloader Menu: The device will display a Bootloader screen. Tap the menu icon (or the screen if prompted) to access the bootloader options.
5. Select Factory Reset: Choose Factory Reset from the list.
6. Confirm: Press RESET and follow the on-screen instructions to wipe the device.